The Basket Blog Archive
All entries in the category: Weaving Tips
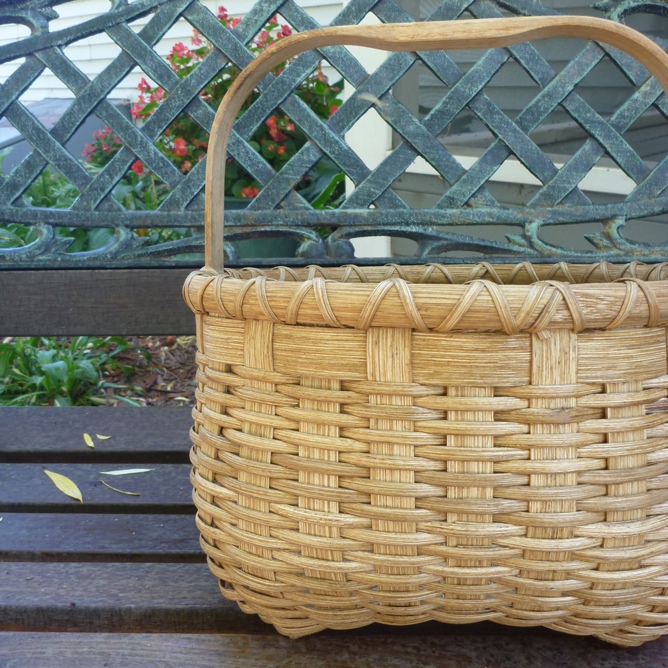
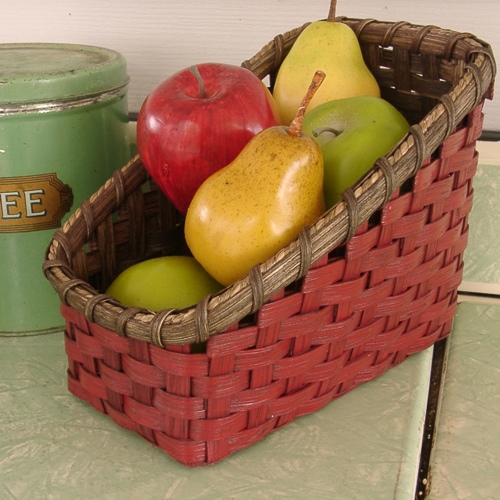
Basket Finishes
Finishes ~ I have experimented extensively. I used to just leave my baskets “natural” but I didn’t think they looked completed and the color-dyed weavers faded over time.
Then I moved on to Danish Oil which offered several color options. After becoming bored with their selections, I...
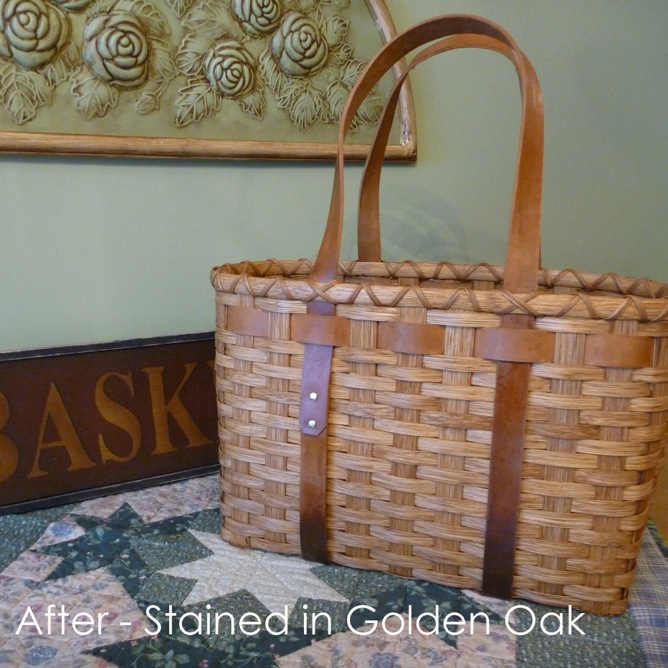
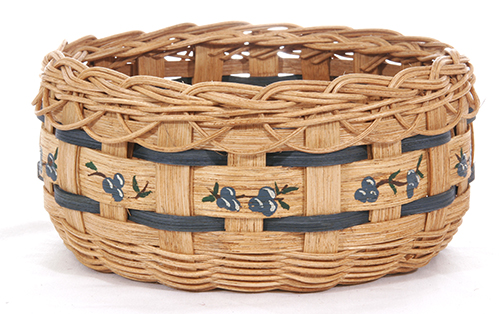
Staining Tutorial - With or Without Leather
Staining Without Leather
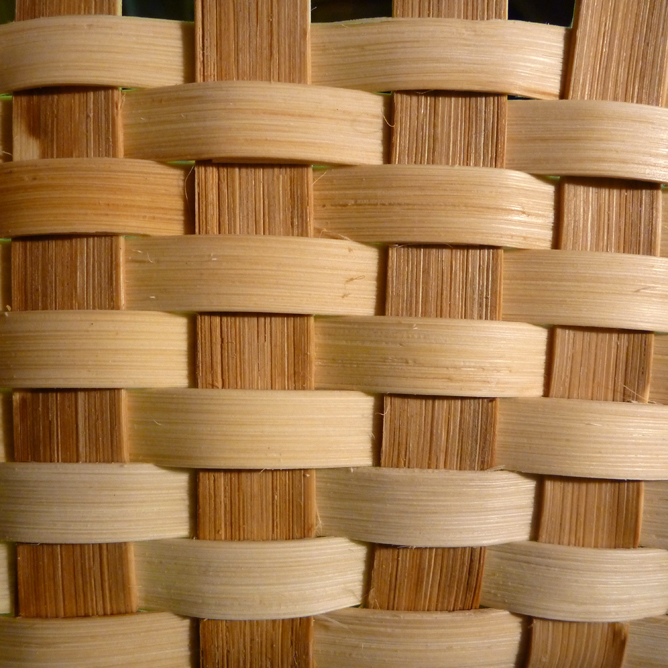
We’ve talked about whether to stain a finished basket or not. It’s amazing how staining a basket can completely change the look of your finished project! It also protects the reed from graying as it ages.

There are several options for finishing your...
Weaving with a Wooden-Bottom Base Tutorial
There are only a handful of different techniques used to construct the base of a basket. The wooden-bottom base combines the technique of a plaited base with a little carpentry. In this tutorial, I’m weaving the base of a Utensil Basket, which calls for two 5” squares of plywood....
Wire and Bale Handles
Hello, Weaving Friends!
As the spring months fight for recognition here in northern Minnesota, we are beginning to look forward to more time spent outside. It will be summer before you know it! When we finally can start hanging the laundry outside again, we use a basket like this...
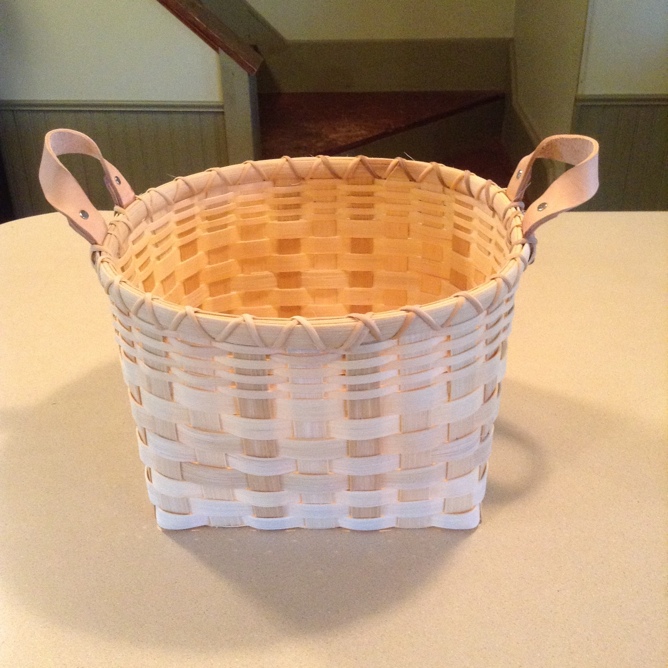
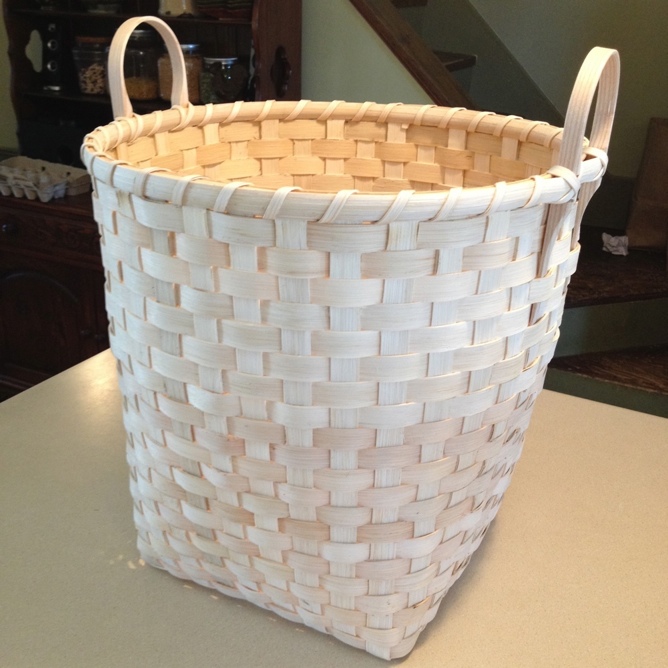
Weaving with Leather Handles
Over the past 26 years of weaving, Joanna’s Collections baskets have developed a certain style. One of my favorite characteristics that we incorporated into our baskets is the use of leather handles.
From bushel handles on storage baskets to leather strapping for totes, adding the...
Twining a Round Base Tutorial
Twining a Round Base Tutorial
Both the filled and unfilled base tutorials we have shared on our blog have taught how to make square or rectangular basket bases. But what about the round patterns?
The basic way to make a round base is to use stakes as spokes and twine with #3 round reed....
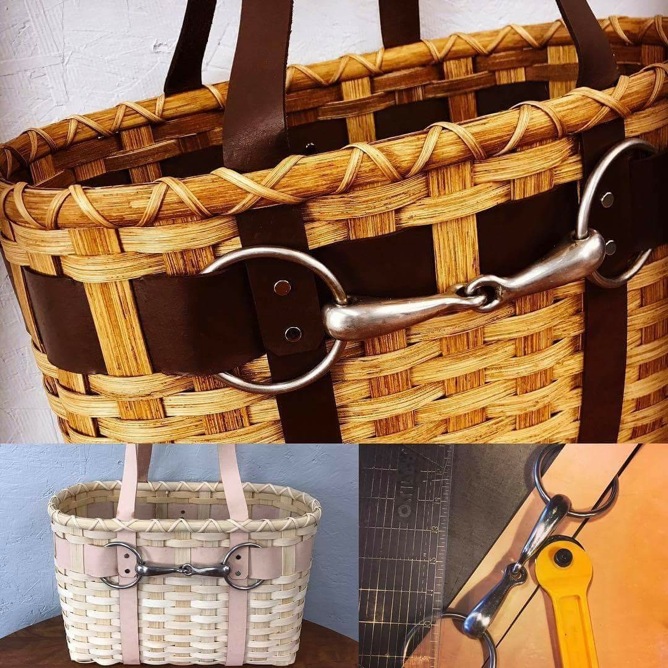
Leather Handled Tote Strapping Tutorial
Joanna’s Collections has designed several original totes and service baskets that use leather strapping as the handles. We love the appearance and feel of the sturdy leather in contrast with the natural look of the reed baskets. The leather strapping runs through the bottom of the...
Singeing Tutorial
You’ve finished lashing your basket! Now the basket can either be declared complete, or you can pursue the next steps of finishing your basket.
For those of you who are type B, mellow, go-with-the-flow kind of people, I’m happy for you. For those of us who are not so laid back, there...
Twining the Last Weaver Tutorial
On a basket, the last weaver is an important row. It’s the one sandwiched between the two rims. This is the row that will be held in place by the tucked stakes and the row that acts as the anchor for the rim and lasher. On many patterns (those with a rim filler), the last row is normally...
Sea Grass Continuous Weave Tutorial
In order to add variety in the decoration and style of your weaving, some patterns will call for a different method of weaving the sides of your basket. One of those techniques is called the continuous weave. In this tutorial, we’ll teach you how to accomplish a continuous weave with sea...
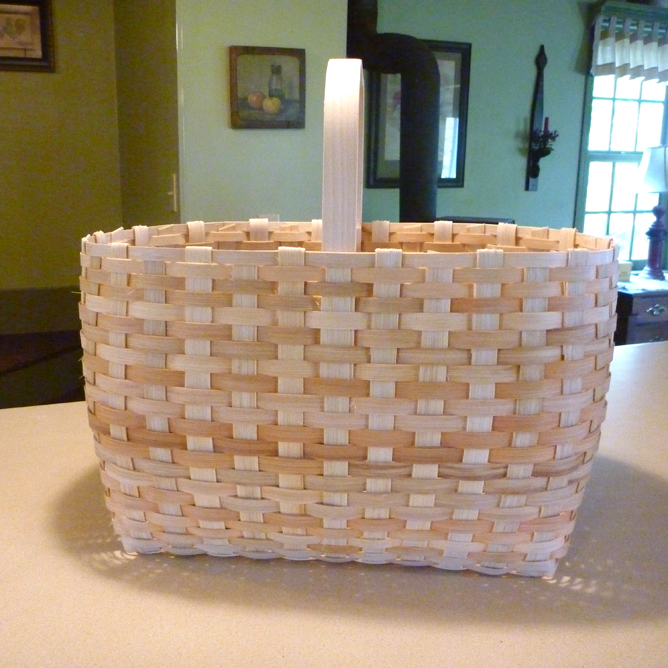
To stain or not to stain … that is the question!
Wooden Bottom Toy Basket - before “finish”.
Truth be told ... we do not spend much time contemplating that dilemma. Every piece that comes out of our shop has some form of a finish on it. Whether dipped in an interior grade woodworking stain or finished in our three-step distressed...
Shaping the Sides of a Basket Tutorial
Baskets come is all shapes and sizes, but there are a few tricks that can really affect the look of your finished product. Shaping the sides of a basket is one of those important techniques!
Straight Sides:
If you are attempting to weave a basket with straight sides, it’s important...
Double-Lashing Tutorial
Once you have finished weaving the sides of your basket, you are ready for the final step – rimming and lashing!
Be sure to soak the inside and outside rim pieces, the rim filler piece (if using round reed), and the lashing piece(s), in warm water for several minutes until they are...
Clip and Tuck Tutorial
After the last row 3/8” reed has been added to the basket, the sides of the basket are complete. The next step is to clip and tuck the horizontal and vertical stakes. Notice that every other stake is on the outside of the last row of 3/8” reed, and the rest are on the inside of the...
Weaving the Sides Tutorial
Now that you’ve upsett the stakes of the basket, the base is completely finished! The next stage of weaving takes the flat base and transitions it to the upright sides of the basket.

Step 1: Soak the weavers in warm water for several minutes until they are pliable. Find the rough...
Upsetting the Stakes Tutorial
Upsetting the stakes is the step that transitions your weaving from the base to the sides of the basket.
Helpful hint: When upsetting the stakes, many new weavers worry that they are going to snap or break the reed. Rattan basket reed is pretty durable because of the many fibers that...
Laying out an Unfilled Base Tutorial
An unfilled base consists of two different sets of stakes: the horizontal stakes and the vertical stakes. Laying out the base is the term we use to describe the process of weaving those two sets of stakes together.
This tutorial can be used in making a basket either with or without a...
Single-Lashing Tutorial
Once you have finished weaving the sides of your basket, you are ready for the final step – rimming and lashing! Be sure to soak the inside and outside rim pieces, the rim filler piece (if using round reed), and the lashing piece(s), for several minutes until they are pliable.
Step...
Weaving the Locking Row
After you’ve laid out the base (filled or not), you’re ready to add the locking row. The purpose of this single 1/4” flat reed row is to hold the shape of the base to the proper measurements that you’ve worked so hard to achieve. This row does not stand up with the sides!
Step 1:...
Laying out a Filled Base
Laying out the base is one of the very first steps in weaving a basket. This tutorial can be used in making a basket either with or without a handle. The pictures use a handle, but if your project does not include one, then simply replace the handle with your center stake.
Let’s get...
Weaving Tutorials
Weaving baskets is an incredibly enjoyable hobby, but if you are unfamiliar with the language of basket weaving, the project can become frustrating. These tutorials are designed to help very beginner weavers understand the basic steps of basket weaving so their kits turn into finished...
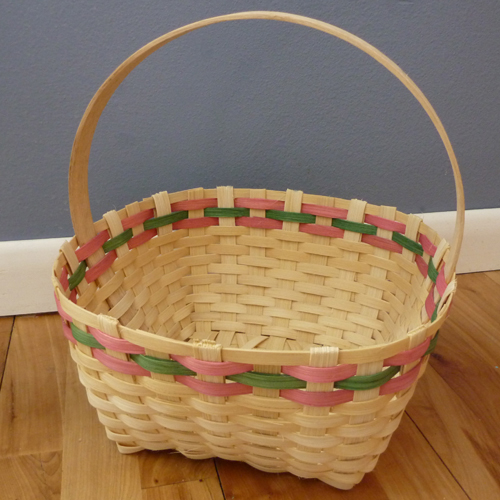
Scallop and Double Braided Border
The Scallop & Double Braided Border is a great method for rimming almost any basket. Its intricate design gives the whole project an elegant appearance. But don’t let the intriguing technique overwhelm you ~ it’s much easier to accomplish than you would imagine!
...
Leather
Leather ~ nothing provides greater strength, durability, or “classiness” to a basket than leather accents. Years ago I discovered that a whole tanned cowhide could be purchased, cut into uniform strips, punched & riveted. The leather is then incorporated into a woven basket as bushel...
Share This


Recent Entries
- Basket Finishes
- July ‘26 Free Pattern
- June ‘26 Free Pattern
- May ‘26 Pattern
- April ‘26 Pattern
- View Archive
Categories
Weaving Lessons
- Basket Finishes
- Staining Tutorial - With or Without Leather
- Weaving with a Wooden-Bottom Base Tutorial
- Wire and Bale Handles
- Weaving with Leather Handles
- Twining a Round Base Tutorial
- Leather Handled Tote Strapping Tutorial
- Singeing Tutorial
- Twining the Last Weaver Tutorial
- Sea Grass Continuous Weave Tutorial
- To stain or not to stain … that is the question!
- Shaping the Sides of a Basket Tutorial
- Double-Lashing Tutorial
- Clip and Tuck Tutorial
- Weaving the Sides Tutorial
The Basket Blog
Basket Finishes
July ‘26 Free Pattern
June ‘26 Free Pattern
Details & Such
Wholesale Inquiry?
If you are interested in wholesale pricing, please .(JavaScript must be enabled to view this email address) that has "wholesale inquiry" in the subject field.
Contact Information
.(JavaScript must be enabled to view this email address)
1422 Martha St N
Stillwater, MN 55082

Weaving Lessons
- Basket Finishes
- Staining Tutorial - With or Without Leather
- Weaving with a Wooden-Bottom Base Tutorial
- Wire and Bale Handles
- Weaving with Leather Handles
- Twining a Round Base Tutorial
- Leather Handled Tote Strapping Tutorial
- Singeing Tutorial
- Twining the Last Weaver Tutorial
- Sea Grass Continuous Weave Tutorial
- To stain or not to stain … that is the question!
- Shaping the Sides of a Basket Tutorial
- Double-Lashing Tutorial
- Clip and Tuck Tutorial
- Weaving the Sides Tutorial