Scallop and Double Braided Border
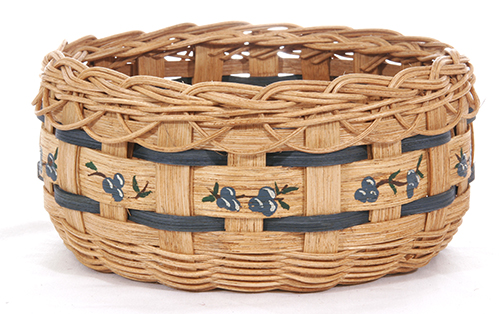
The Scallop & Double Braided Border is a great method for rimming almost any basket. Its intricate design gives the whole project an elegant appearance. But don’t let the intriguing technique overwhelm you ~ it’s much easier to accomplish than you would imagine!
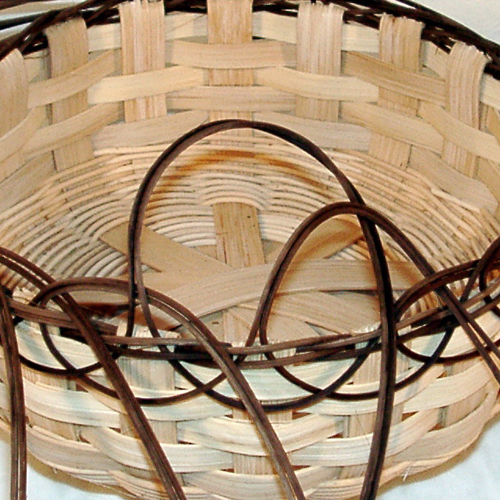
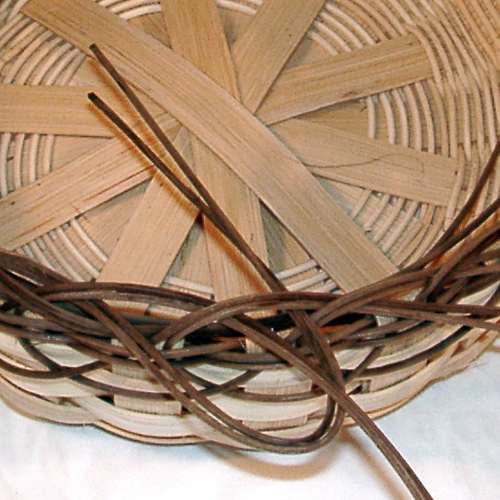
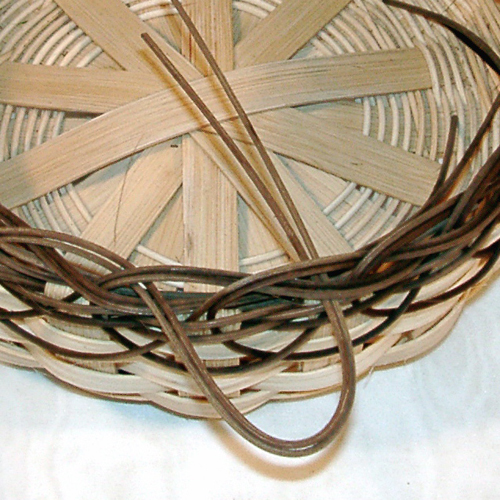
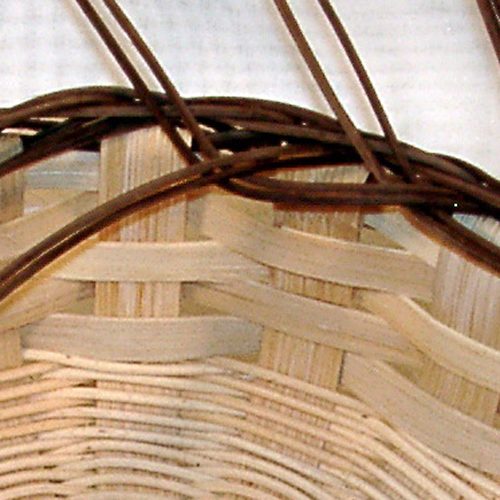
SCALLOP: From the #3 round reed, cut as many 24” pieces as there are stakes or spokes. Soak all of these pieces for several minutes until very pliable. Insert them all one at a time into the two rows of twining, about 6” up. See diagram 1.
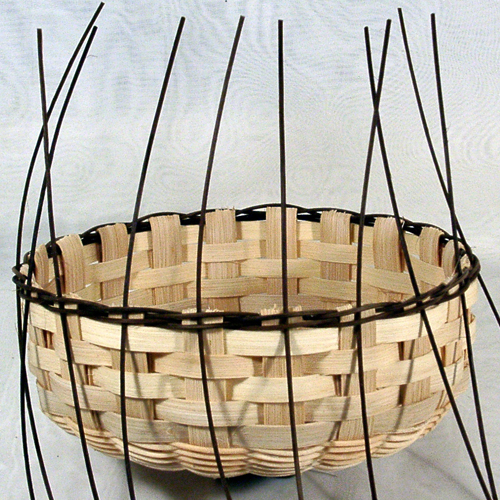
Diagram 1
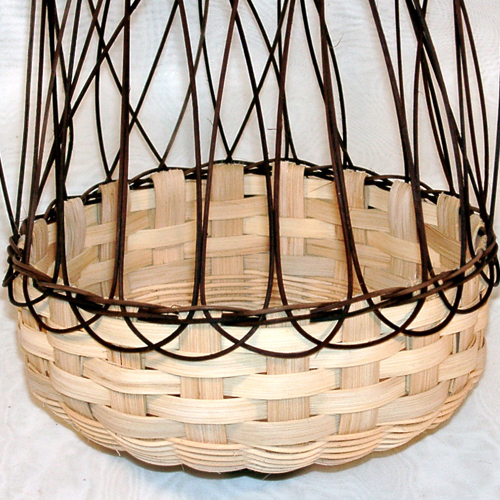
Now form scallops by taking the bottom end of each piece and inserting it upward under the twining on the second to the right stake. Find its partner and pull up the scallop. Be sure the tails and scallops are even. See diagram 2. The #3 round reeds are now in pairs. Keep them side by side as you continue working. (Do not allow them to twist.)
Diagram 2
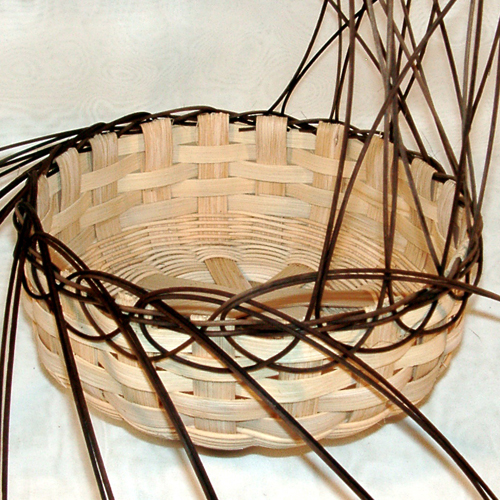
OUTSIDE BRAID: Starting with any pair of hairpins, take one pair behind the next pair to the right and out to the front. See diagram 3. Repeat this step all the way around the basket rim.
Diagram 3
To do the last pair, gently loosen the very first loop you started with, take the last pair behind that loop and out to the front. See diagram 4. Go around the basket and even out all of the loops.
Diagram 4
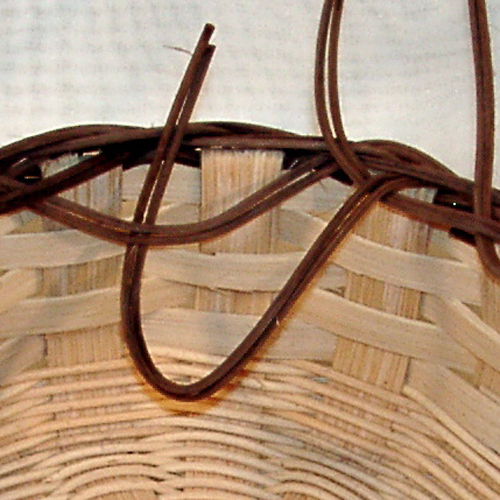
The next step involves tucking all of the pairs to the inside of the basket. Lift any pair to make an opening and tuck the left-hand pair into that space. Move to the right. Lift the right-hand pair to make an opening and tuck the left-hand pair into that space. See diagram 5. Continue all the way around the basket rim.
Diagram 5
Again, to place the last pair, loosen the very first pair and tuck the last pair into that space. See diagram 6. Even up this first outside braid.
Diagram 6
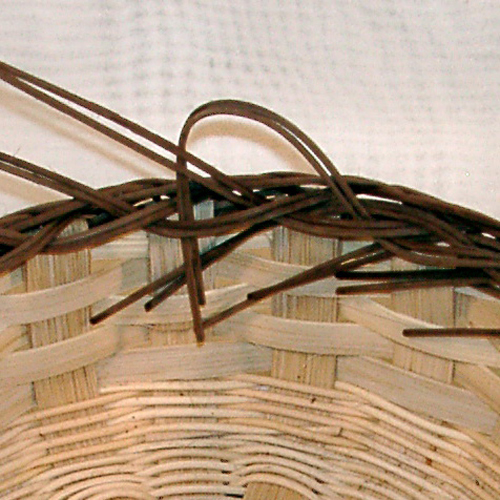
INSIDE BRAID: Working from the inside of the basket, lift any two pairs. Take the right-hand pair under the left-hand pair and to the outside of the basket. See diagram 7. Continue counterclockwise around the basket until you have one last pair remaining.
Diagram 7
Loosen the very first pair and take the last pair under it and out. See diagram 8. Even up this round.
Diagram 8
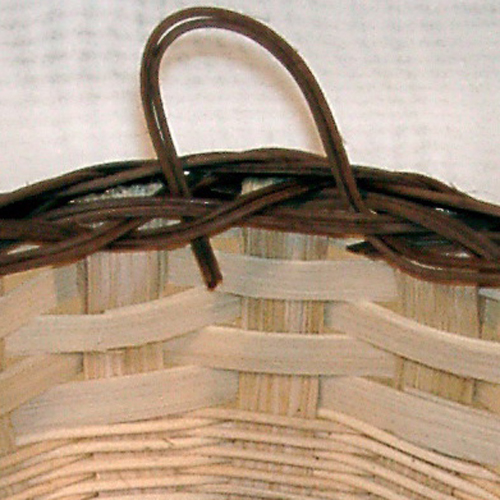
The last braiding step will tuck all of the pairs to the inside of the basket. As before, work counterclockwise from the inside of the basket. Lift one pair to make an opening and the pair to the right tucks down into that space. Move to the left. Lift the next left-hand pair and the right-hand pair tucks down into that space. See diagram 9. Continue all the way around.
Diagram 9
Again, to do the last pair, loosen the very first pair and tuck the last pair into that space. See diagram 10. Even up the inside braid.
Diagram 10
Angle cut the pair ends 3/4” long so they remain securely on the inside wall of the basket.
Recent Comments
The Basket Blog
Basket Finishes
January ‘26 Free Pattern
December ‘25 Free Pattern
Details & Such
Teaching Schedule
Danielle teaches many classes throughout the school year in various places in eastern Minnesota. For more information and a schedule, see Danielle's Teaching Schedule, or .(JavaScript must be enabled to view this email address).
Wholesale Inquiry?
If you are interested in wholesale pricing, please .(JavaScript must be enabled to view this email address) that has "wholesale inquiry" in the subject field.
Contact Information
.(JavaScript must be enabled to view this email address)
1422 Martha St N
Stillwater, MN 55082

Weaving Lessons
- Basket Finishes
- Staining Tutorial - With or Without Leather
- Weaving with a Wooden-Bottom Base Tutorial
- Wire and Bale Handles
- Weaving with Leather Handles
- Twining a Round Base Tutorial
- Leather Handled Tote Strapping Tutorial
- Singeing Tutorial
- Twining the Last Weaver Tutorial
- Sea Grass Continuous Weave Tutorial
- To stain or not to stain … that is the question!
- Shaping the Sides of a Basket Tutorial
- Double-Lashing Tutorial
- Clip and Tuck Tutorial
- Weaving the Sides Tutorial


There are no comments yet... You could be the first!