Weaving with a Wooden-Bottom Base Tutorial
There are only a handful of different techniques used to construct the base of a basket. The wooden-bottom base combines the technique of a plaited base with a little carpentry. In this tutorial, I’m weaving the base of a Utensil Basket, which calls for two 5” squares of plywood. However, you can use these steps to assemble a wooden base of any size by adjusting your basic measurements.
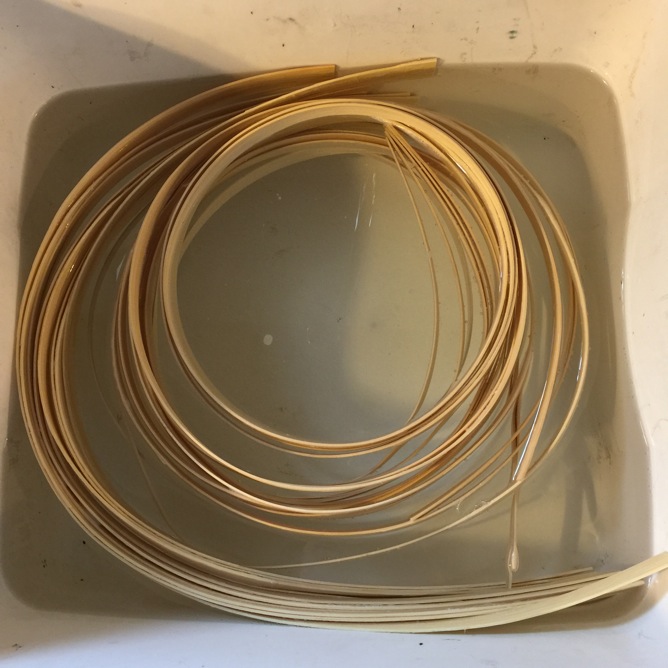
Step 1: Get the horizontal and vertical stakes soaking for several minutes in warm water.
Step 2: Identify the rough sides of the stakes. You can do this by bending the weaver over to see which side splinters. The splintered side is the rough side.
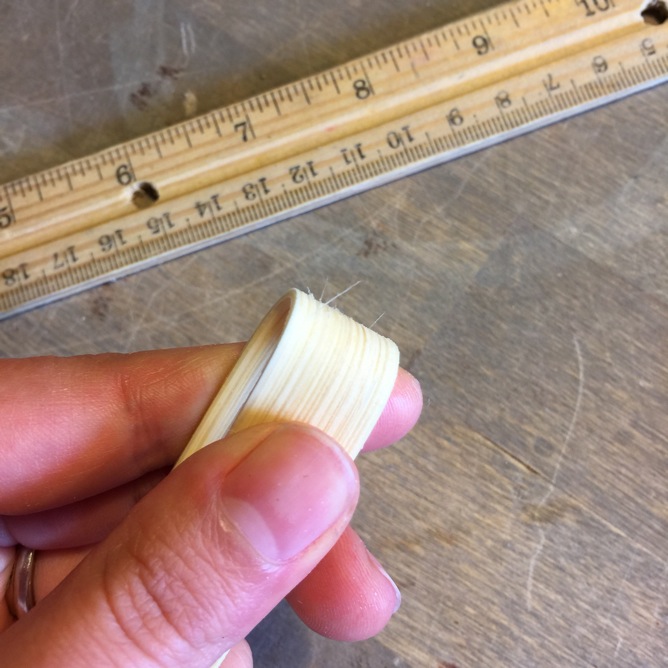
On this base, you want to place the rough sides down rather than face-up. This cuts out the unnecessary step of flipping the base over and making a mess with the glue.
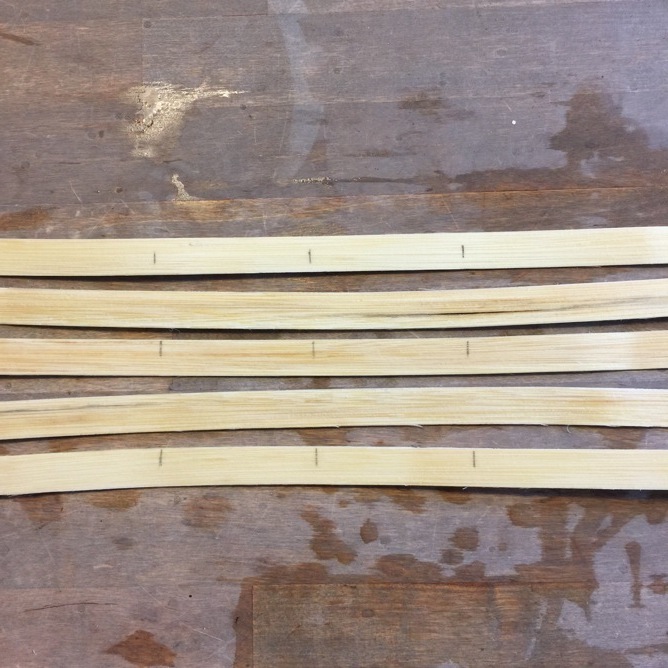
Step 3: Mark the center and correct dimensions for the base. For the Utensil Basket, I marked the smooth side of the stake at 0”, 2.5”, and 5” to indicate the left, center, and right measurement.

Because this basket is a square, I repeated those marks on a total of six stakes to measure the depth and width of the base. This is how I laid out the horizontal pieces.
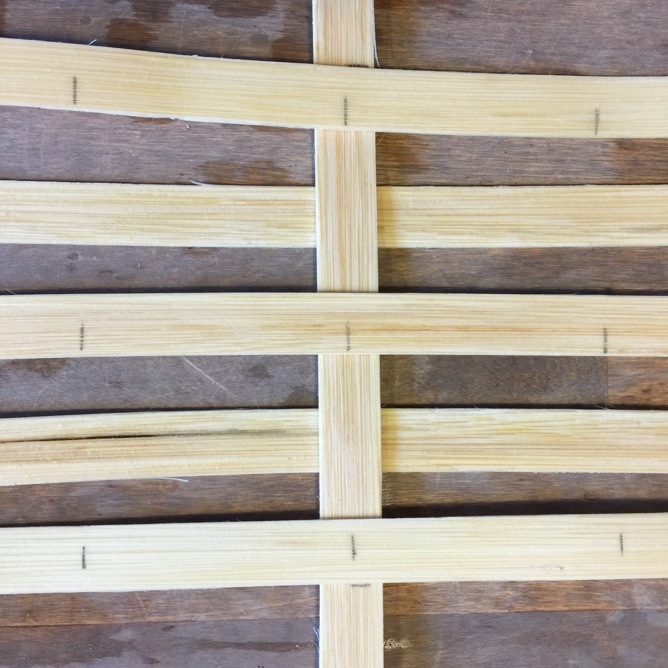
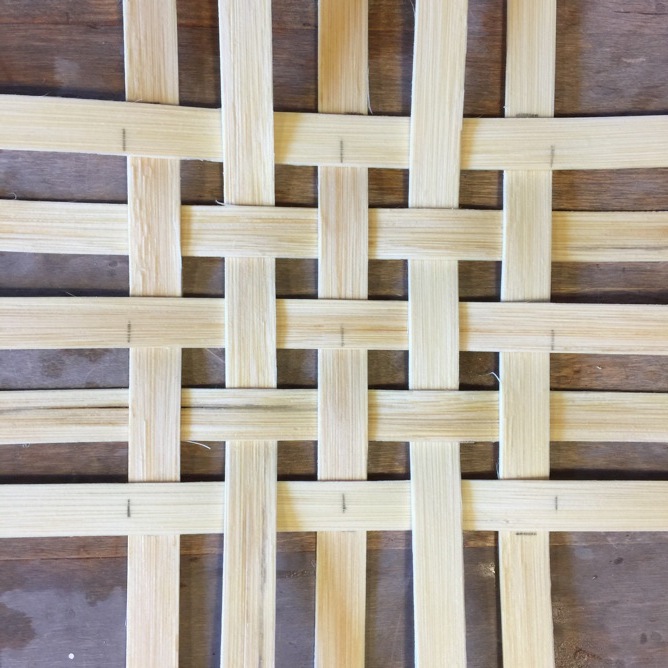
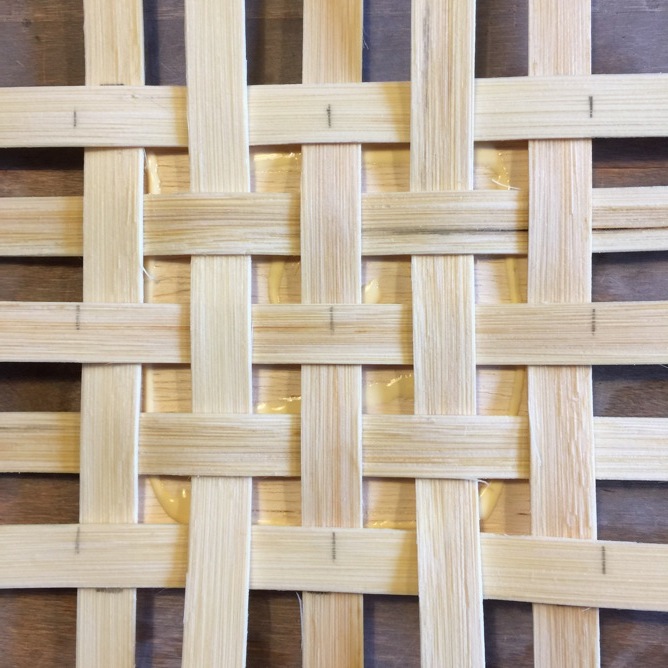
Step 4: Weave the base according to the specific instructions in your pattern. (I.E., lift dds, weave two stakes to the right and two to the left, etc…)
Step 5: Square up your base to meet the exact measurements of the plywood base.
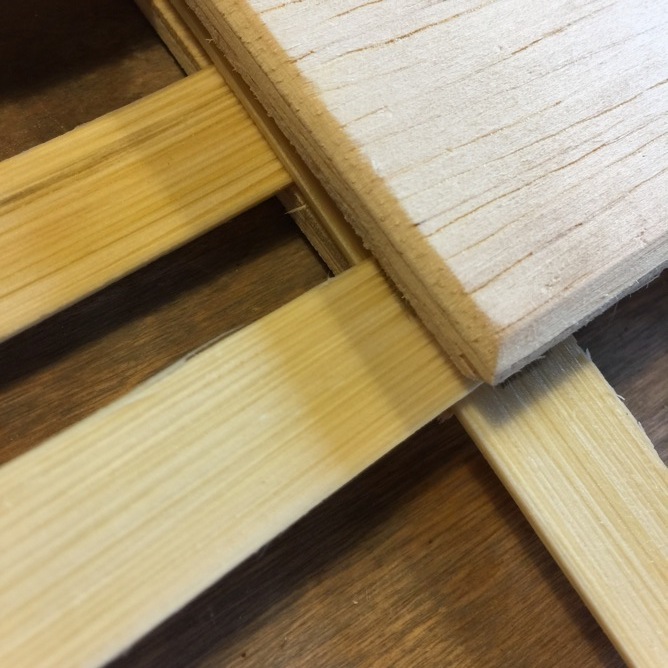
Step 6: Identify the right and wrong sides of the plywood. The “wrong” sides include any discolorations or damages. The kits from our shop will have the edges of the “right” sides slightly sanded down to create a beveled look. The wrong sides will be glued together to leave the right sides showing on the top and bottom of the base.
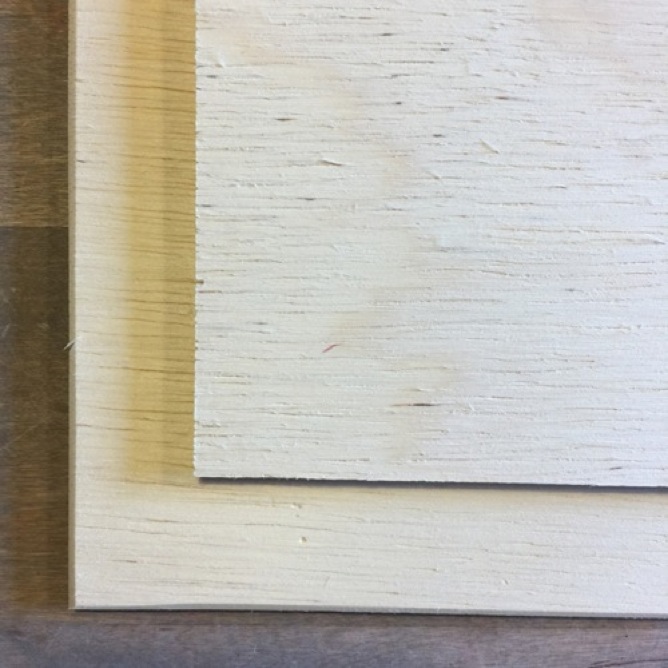
In the photo above, the wrong side is on top and the right side is the bottom piece of plywood.
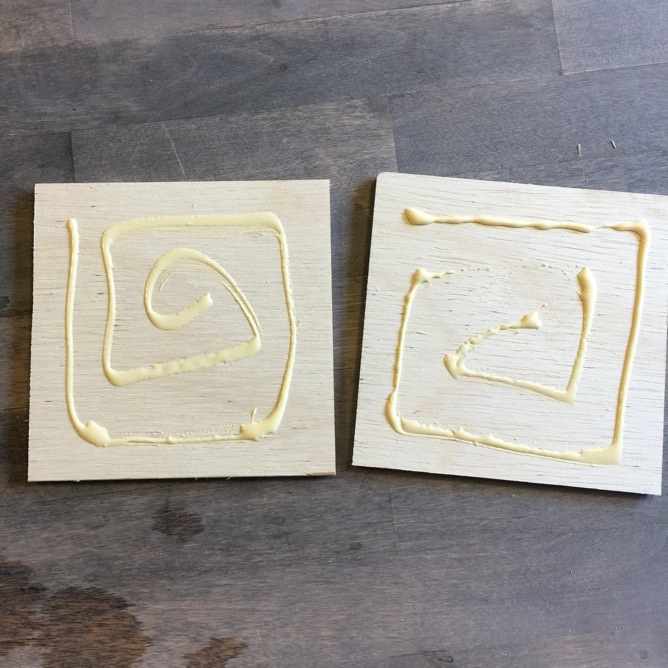
Step 7: Apply wood glue to the wrong sides of the plywood.
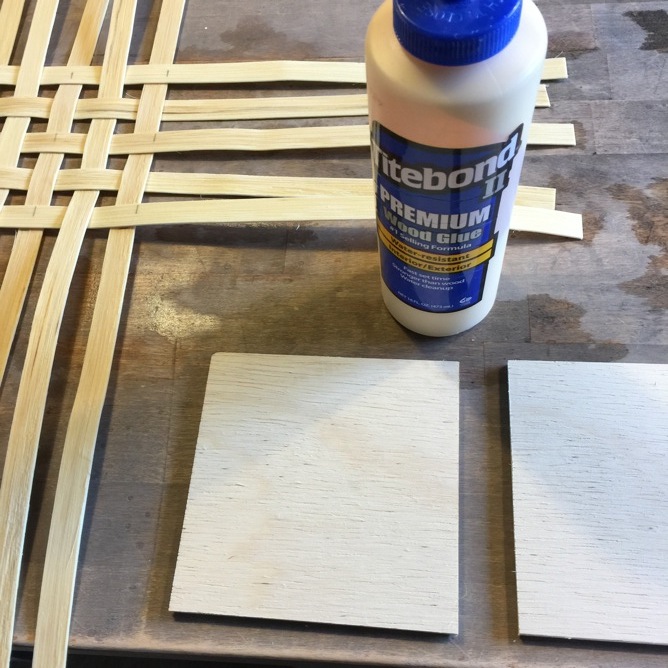
Keep an inch or so away from the edge of the plywood to avoid glue leaking out once the pieces are sandwiched together.
Step 8: Align one of the base pieces underneath the woven stakes. Adjust the stakes to meet the edges of the plywood.
Step 9: Place the second base piece on top of the woven stakes.
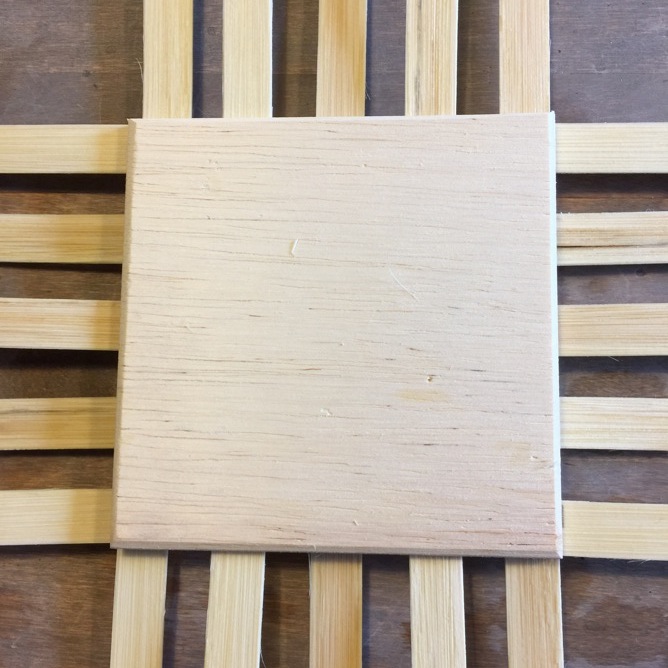
Square all three pieces (Bottom plywood, woven base, and top plywood) to be flush with each other.
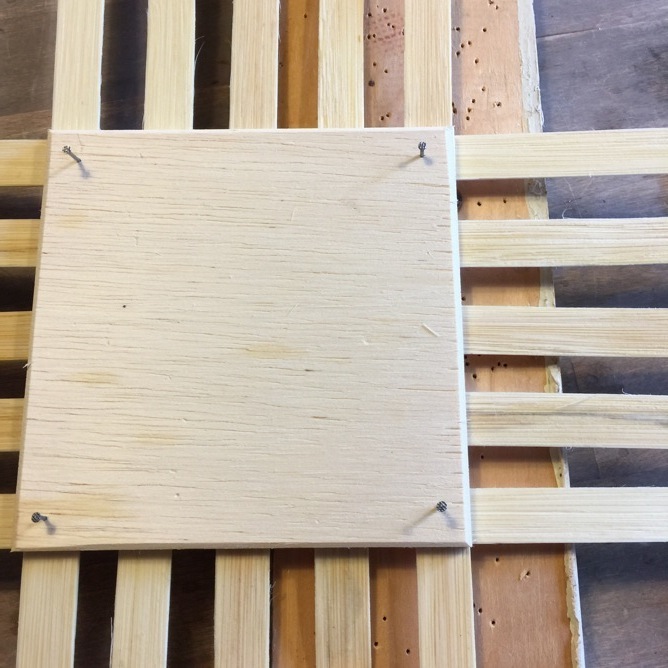
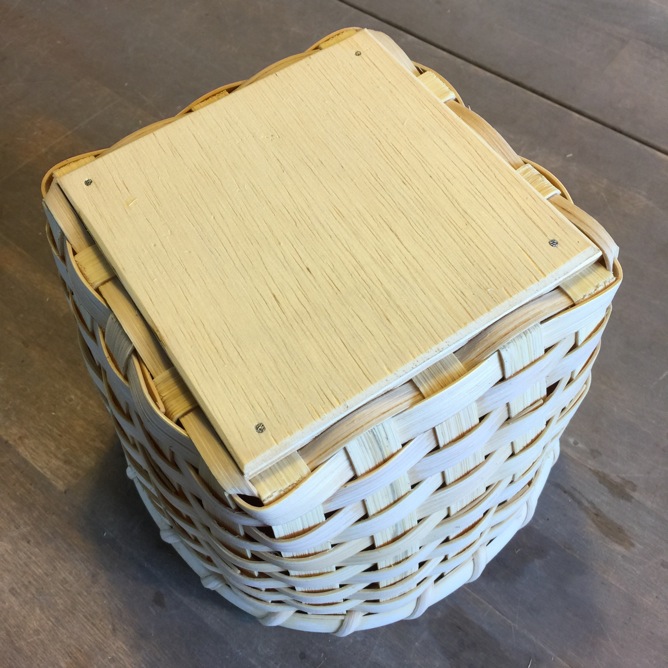
Step 10: Using ¾” wire nails, secure the base by nailing each corner.
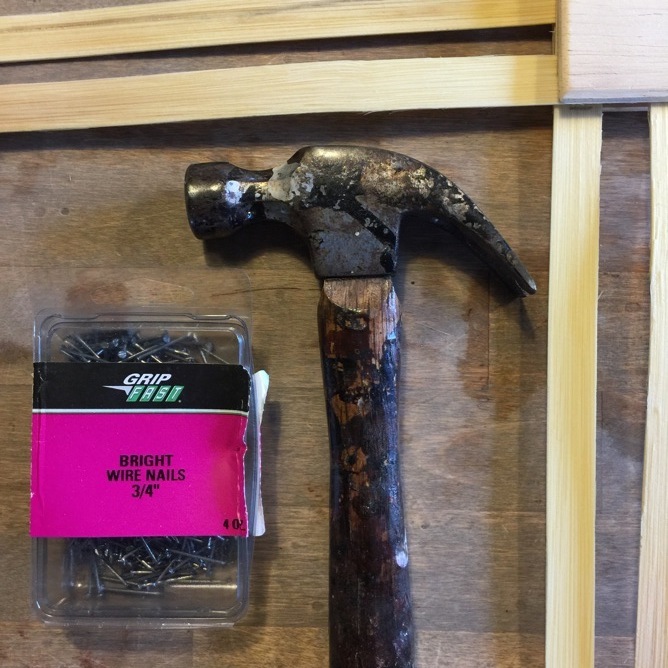
Helpful Hint! We use a piece of scrap wood underneath the base so we don’t nail it to the counter… :/
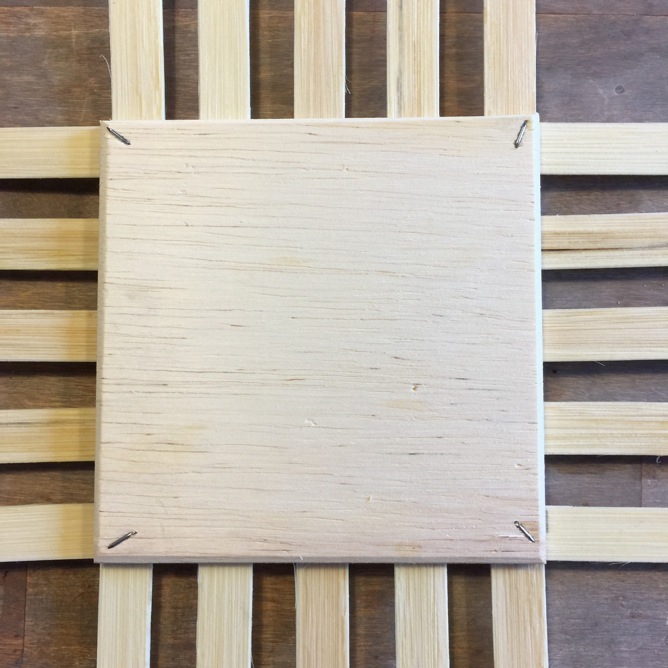
Step 11: Flip the base over.
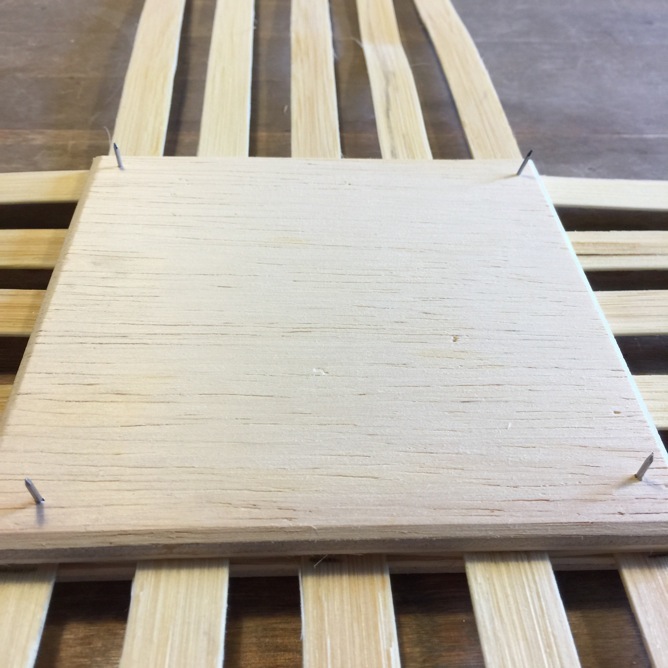
Pound each nail towards the corners to mimic the look of a staple.
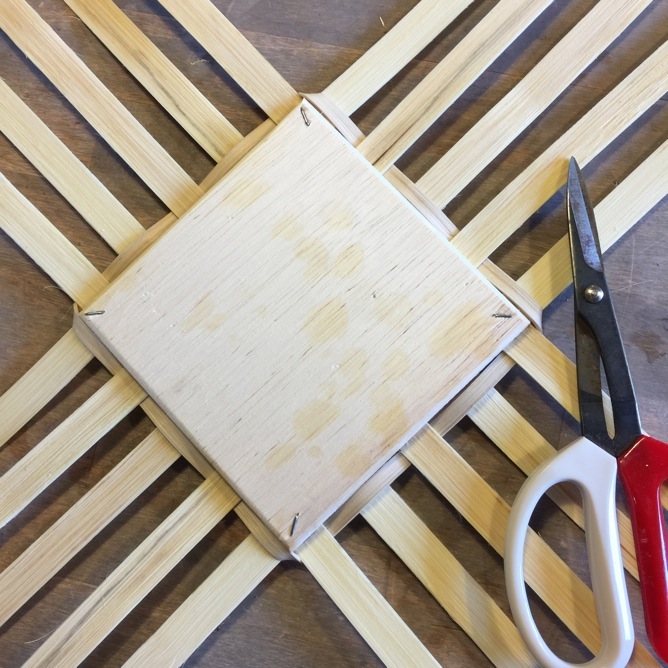
Step 12: Weave the locking row, and you’re done!
It’s useful to have the extra stability provided by a wooden-bottom base.
Nice work adding another technique to your weaving skill set.
Recent Comments
We started making our own wooden bases out of necessity as we didn’t have anyone who could route bases for us. The size, shape and/or dimensions of the bases that WERE available for purchase didn’t always meet our specific basket needs ... in addition to the fact that they are rather costly. So, once again, the mother of invention took flight and we came up with the double plywood base design. We’ve cut, sanded, glued and tacked literally hundreds of them this year alone. We love using them!
What a great idea. Sometimes purchased bases gets too costly.
Thanks so much for this tutorial! I’ve used wooden bases like this for your patterns and just guessed! Got it pretty right except for the glue. I like to peg the corners with a wooden dowel.
I believe old OLD Nantucket baskets used to be made with a double base like this. Thanks so much for your tutorial!
Share This


Recent Entries
- Basket Finishes
- July ‘26 Free Pattern
- June ‘26 Free Pattern
- May ‘26 Pattern
- April ‘26 Pattern
- View Archive
Categories
Weaving Lessons
- Basket Finishes
- Staining Tutorial - With or Without Leather
- Weaving with a Wooden-Bottom Base Tutorial
- Wire and Bale Handles
- Weaving with Leather Handles
- Twining a Round Base Tutorial
- Leather Handled Tote Strapping Tutorial
- Singeing Tutorial
- Twining the Last Weaver Tutorial
- Sea Grass Continuous Weave Tutorial
- To stain or not to stain … that is the question!
- Shaping the Sides of a Basket Tutorial
- Double-Lashing Tutorial
- Clip and Tuck Tutorial
- Weaving the Sides Tutorial
The Basket Blog
Basket Finishes
July ‘26 Free Pattern
June ‘26 Free Pattern
Details & Such
Wholesale Inquiry?
If you are interested in wholesale pricing, please .(JavaScript must be enabled to view this email address) that has "wholesale inquiry" in the subject field.
Contact Information
.(JavaScript must be enabled to view this email address)
1422 Martha St N
Stillwater, MN 55082

Weaving Lessons
- Basket Finishes
- Staining Tutorial - With or Without Leather
- Weaving with a Wooden-Bottom Base Tutorial
- Wire and Bale Handles
- Weaving with Leather Handles
- Twining a Round Base Tutorial
- Leather Handled Tote Strapping Tutorial
- Singeing Tutorial
- Twining the Last Weaver Tutorial
- Sea Grass Continuous Weave Tutorial
- To stain or not to stain … that is the question!
- Shaping the Sides of a Basket Tutorial
- Double-Lashing Tutorial
- Clip and Tuck Tutorial
- Weaving the Sides Tutorial
I have never seen this type of wooden base. It looks like it replaces the need to router the base. Is this you original idea?
Dee Grinenko 09/06/17