Staining Tutorial - With or Without Leather
Staining Without Leather
We’ve talked about whether to stain a finished basket or not. It’s amazing how staining a basket can completely change the look of your finished project! It also protects the reed from graying as it ages.

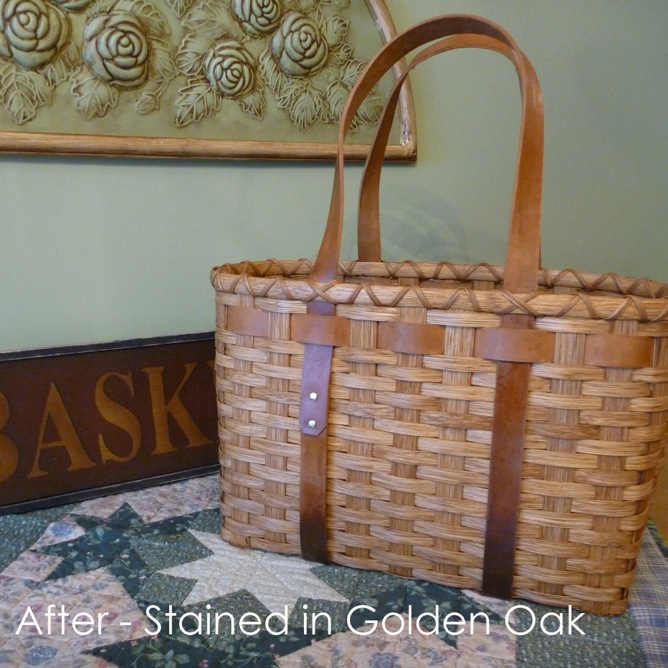
There are several options for finishing your baskets. We use oil-based interior stains for most of our baskets, especially if they have any leather. Oil stains permeate both the reed and the leather while allowing the grain of the reed to be seen.
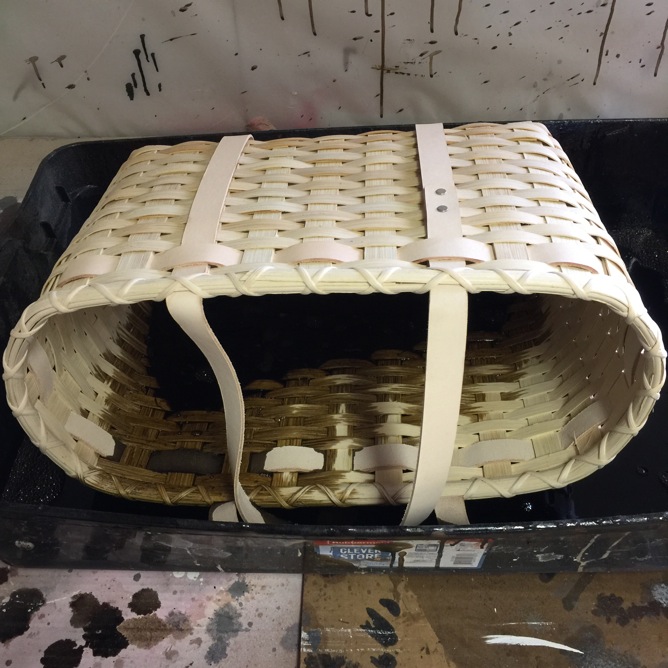
In our kits, we send the leather out unstained to allow it to be finished when you stain your woven basket.
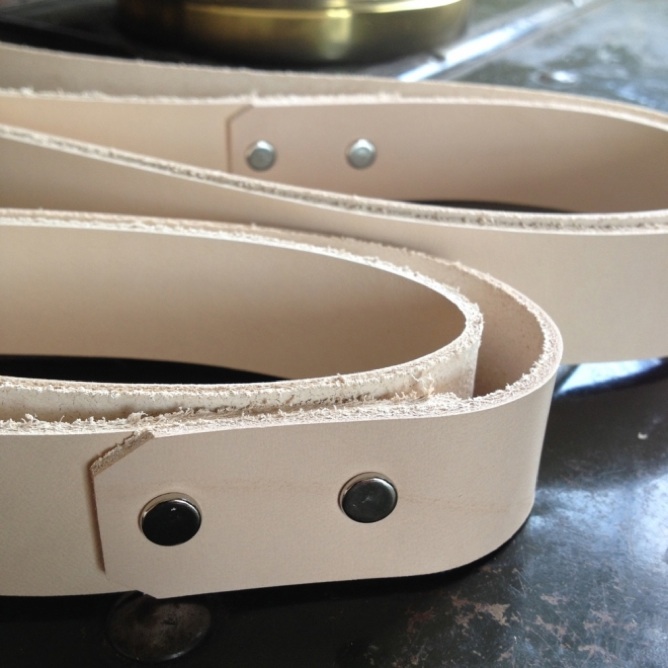
The leather will soak up the stain and end a few shades darker than the reed, but in the same color tone. Cowhides are somewhat fickle when it comes to color. Some hides absorb the color in a darker shade than others, but it always is in the same tone.
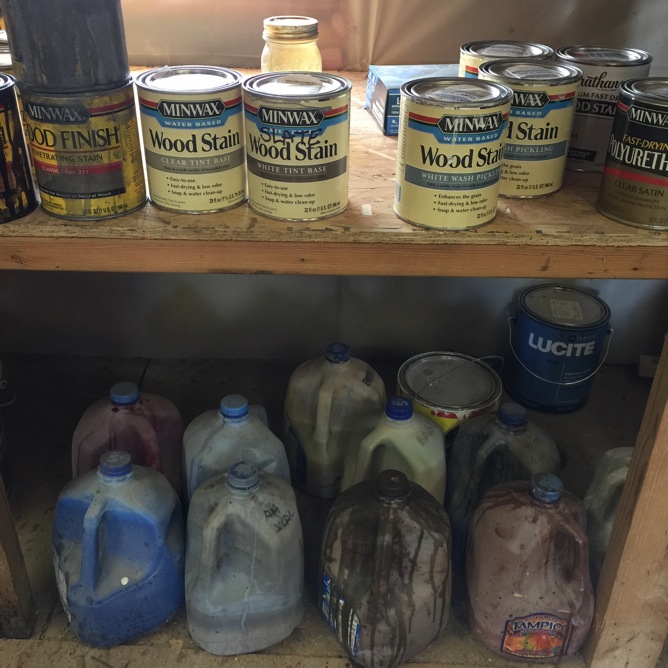
Water-based woodworking stain also can be used to finish baskets if there isn’t any leather. The water-based stains don’t soak into the leather evenly and end up looking splotchy. In contrast to the oil stains, water stains are more like a thinner paint finish; the color covers more opaquely and rests on top of the reed rather than permeating through. There is a wider variety of color options in the water-based stains, so it’s fun to travel off the path of natural color tones and finish a basket in bright blue or bold red every now and then!
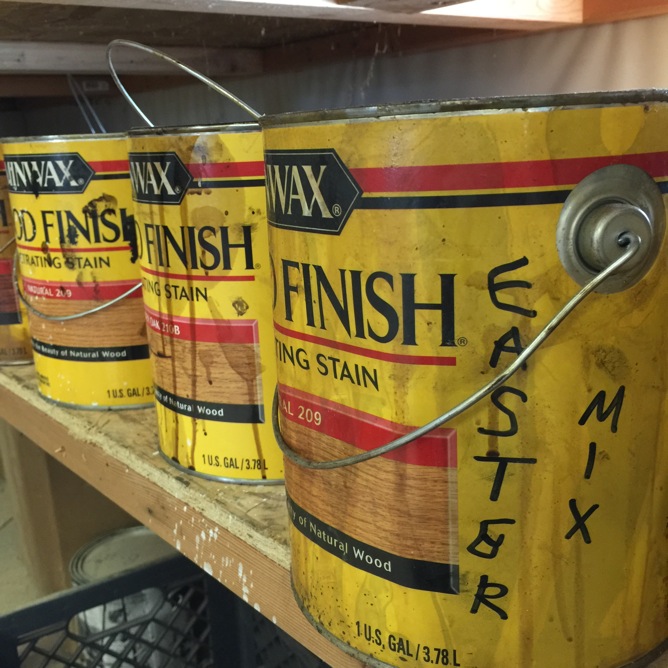
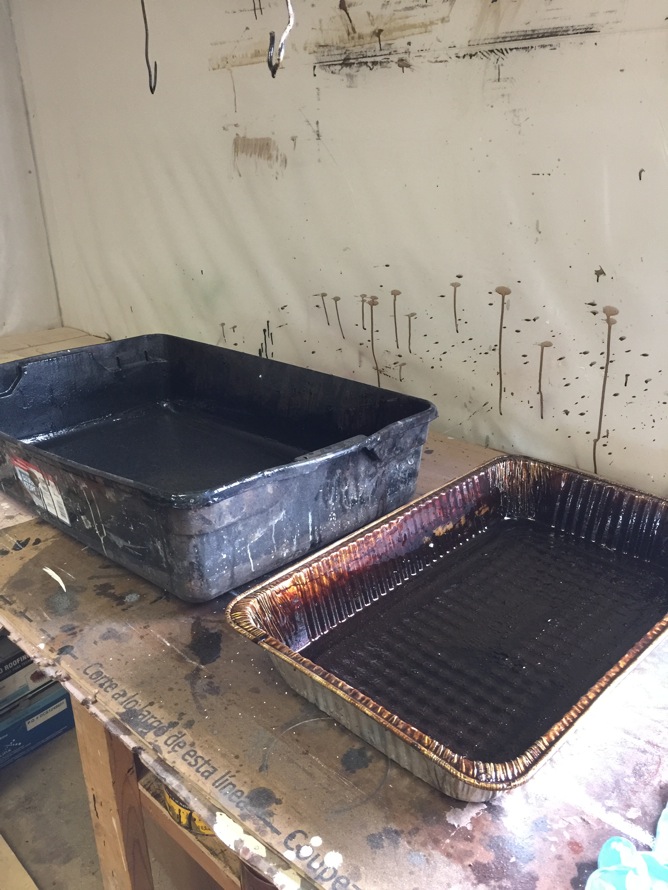
After the stain has been chosen, you only need a few other materials. Because our shop stains many baskets throughout the week, we buy stain in gallons and pour it into a aluminum pan or plastic storage tub so we can dip the baskets in the stain. After the stain and the pans, the only other supplies we use are latex gloves to protect our hands and stain rags, because staining is almost always a messy process!
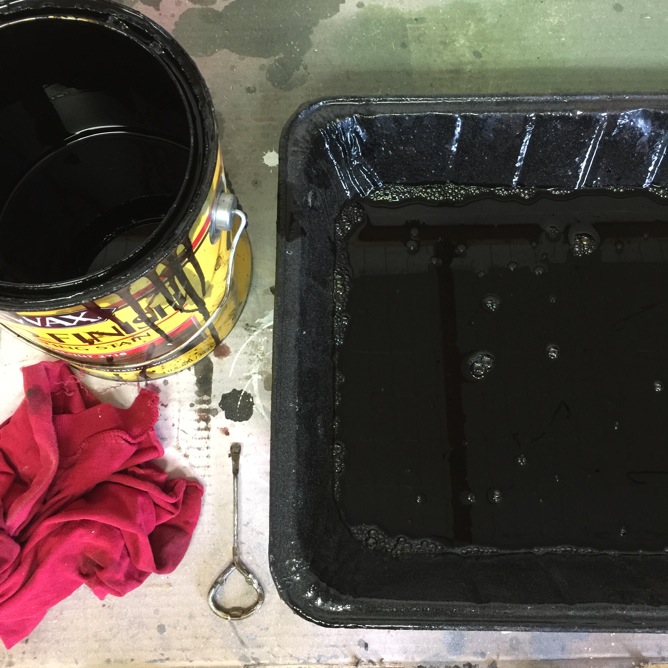
Stir the stain thoroughly. Pick a tub that fits the size of your basket, and pour the stain in.
Then it’s just a matter of dunking the basket. Be sure to cover each side completely.
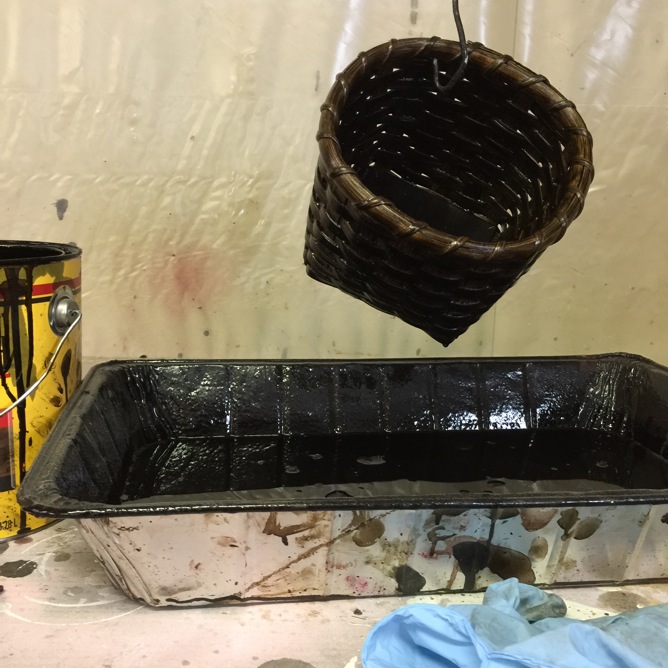
We hang the baskets by a corner to allow the excess stain to drip off into the stain pan. You may need to use a rag to wipe off any uneven drips after the basket has dripped for a while.
Allow the baskets to hang until they no longer drip, but then let them dry in a way that doesn’t twist the shape of the basket. And you’re done! Easy!
Staining Leather
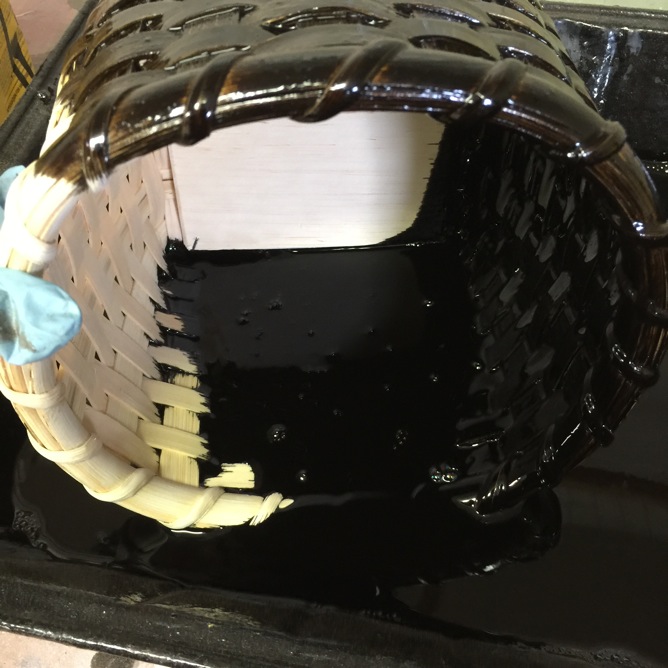
For leather straps or handles, the staining process takes a bit longer. Each segment of leather must be allowed to soak in oil-based stain (NOT WATER-BASED!) for at least one minute. On a Leather Handled Tote, that means rotating the sides multiple times to let the stain soak in to the bottom, handles, and weaver.
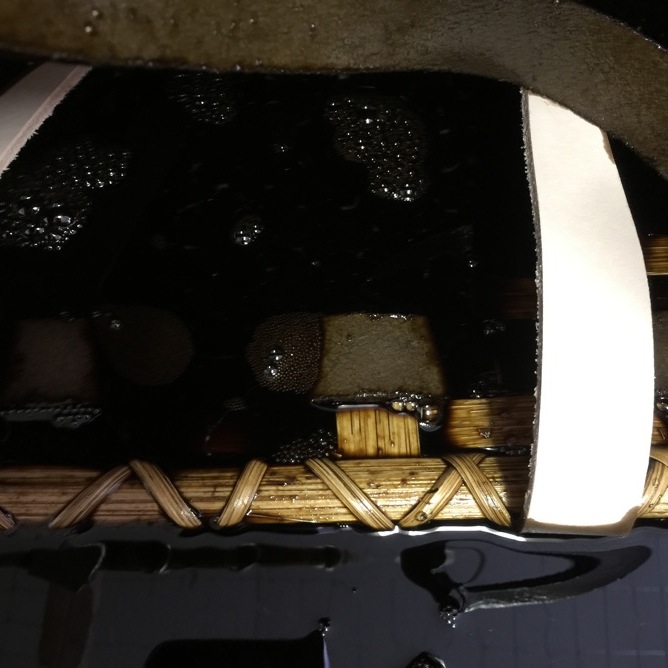
The leather will be thoroughly saturated when it is no longer releasing oxygen bubbles into the stain. You can see the bubbles collect on the surface of the stain in this picture. The leather will almost immediately appear to be stained, but failing to allow the leather to become completely saturated will make it splotchy and inconsistent once it’s dry.
After the basket has been rotated and the leather has absorbed all the stain it can, hang the basket by a corner to let the stain drip off. We hang the handles up so the stain doesn’t pool strangely anywhere.
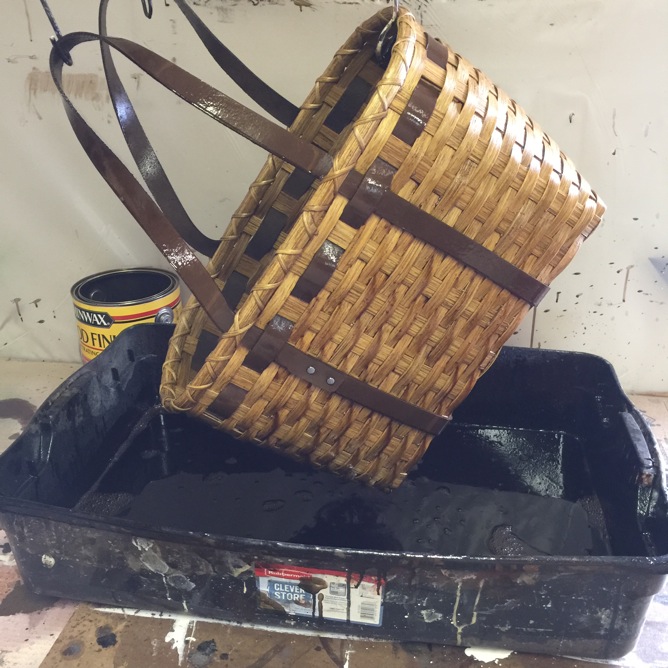
Also, be sure to wipe excess stain off any rivets before it dries completely. It’s much harder to remove once it’s dry.
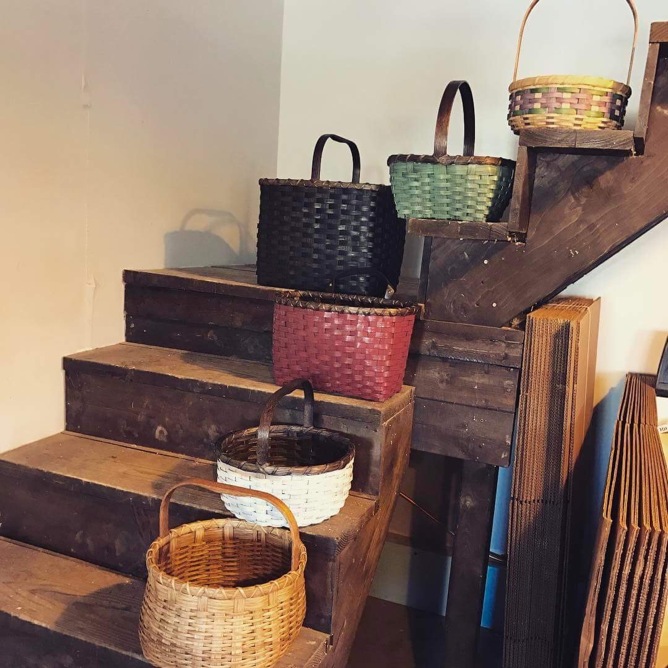
The options for finishing are endless when it comes to stain colors and paint combinations. Have fun customizing your baskets to exactly what you love!
Recent Comments
Hi Julie,
Thanks for your question! In the last picture on this tutorial, there are several painted baskets that are a different color than the ones that are only stained. We stain the baskets first, then paint them as the second step in the finishing process. That’s the only method we use to create a two-tone finish. Hope that helps!
Share This


Recent Entries
- Basket Finishes
- July ‘26 Free Pattern
- June ‘26 Free Pattern
- May ‘26 Pattern
- April ‘26 Pattern
- View Archive
Categories
Weaving Lessons
- Basket Finishes
- Staining Tutorial - With or Without Leather
- Weaving with a Wooden-Bottom Base Tutorial
- Wire and Bale Handles
- Weaving with Leather Handles
- Twining a Round Base Tutorial
- Leather Handled Tote Strapping Tutorial
- Singeing Tutorial
- Twining the Last Weaver Tutorial
- Sea Grass Continuous Weave Tutorial
- To stain or not to stain … that is the question!
- Shaping the Sides of a Basket Tutorial
- Double-Lashing Tutorial
- Clip and Tuck Tutorial
- Weaving the Sides Tutorial
The Basket Blog
Basket Finishes
July ‘26 Free Pattern
June ‘26 Free Pattern
Details & Such
Wholesale Inquiry?
If you are interested in wholesale pricing, please .(JavaScript must be enabled to view this email address) that has "wholesale inquiry" in the subject field.
Contact Information
.(JavaScript must be enabled to view this email address)
1422 Martha St N
Stillwater, MN 55082

Weaving Lessons
- Basket Finishes
- Staining Tutorial - With or Without Leather
- Weaving with a Wooden-Bottom Base Tutorial
- Wire and Bale Handles
- Weaving with Leather Handles
- Twining a Round Base Tutorial
- Leather Handled Tote Strapping Tutorial
- Singeing Tutorial
- Twining the Last Weaver Tutorial
- Sea Grass Continuous Weave Tutorial
- To stain or not to stain … that is the question!
- Shaping the Sides of a Basket Tutorial
- Double-Lashing Tutorial
- Clip and Tuck Tutorial
- Weaving the Sides Tutorial
How do you stain the inside a different color than the outside of a basket?
Julie 10/02/17